General Procedure to Define Project Settings
The Settings interface provides many options to define how 2D output drawings will be organized and how the items on the 2D drawing are displayed (color, text height, delimiters etc.). Each option page provides settings fields which are defined and saved to the %project%.ini file.
The following procedure provides some basic information on how to define the settings for the different types of options pages. You can use this procedure along with the information provided in the help topics for each options page to assist in the process of defining the settings for your OpenPlant Orthographics Manager projects.
-
Click on a node from the navigation tree to display its options.
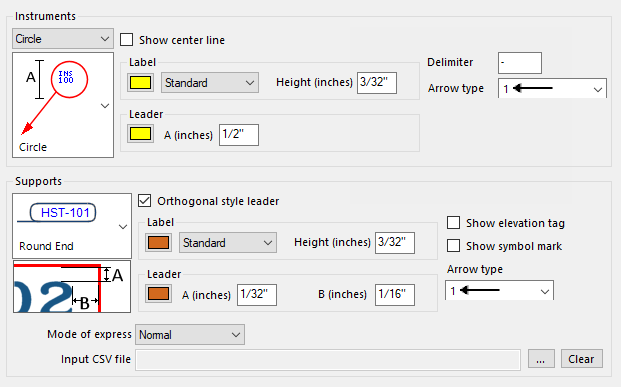
(For example: Click the Instruments and Supports node as shown below):
In most cases, there is a number of various fields with bitmap images to help when you define the settings. In many cases, the settings update the image dynamically as you click them as to help with the visualization.
- Most fields are defined using one of the following methods,
-
For fields which require a directory path, such as the Input CSV
file field above, use the Browse
 icon to navigate to the correct
location.
icon to navigate to the correct
location.
- Once all of the settings have been defined, click Save. This will save the settings for the current options page without closing the interface.
- Click Close when you are finished defining all of the settings and it will close the Settings interface. If your changes have not been saved, you will be prompted to save them.